
Ok so that was the deciding factor to me getting a gelli plate, and I have to say, it is fun, I do love it, and I have already used it to make prints for a few specific projects!!
For those of you who didn't run out and get a gelli plate to play with after seeing this awesome post on them by Kristy, I thought I would give you a quick run down on a few of the ways you can use the gelli plate to make prints. And show you how to use them in different aspects of your crafting :)
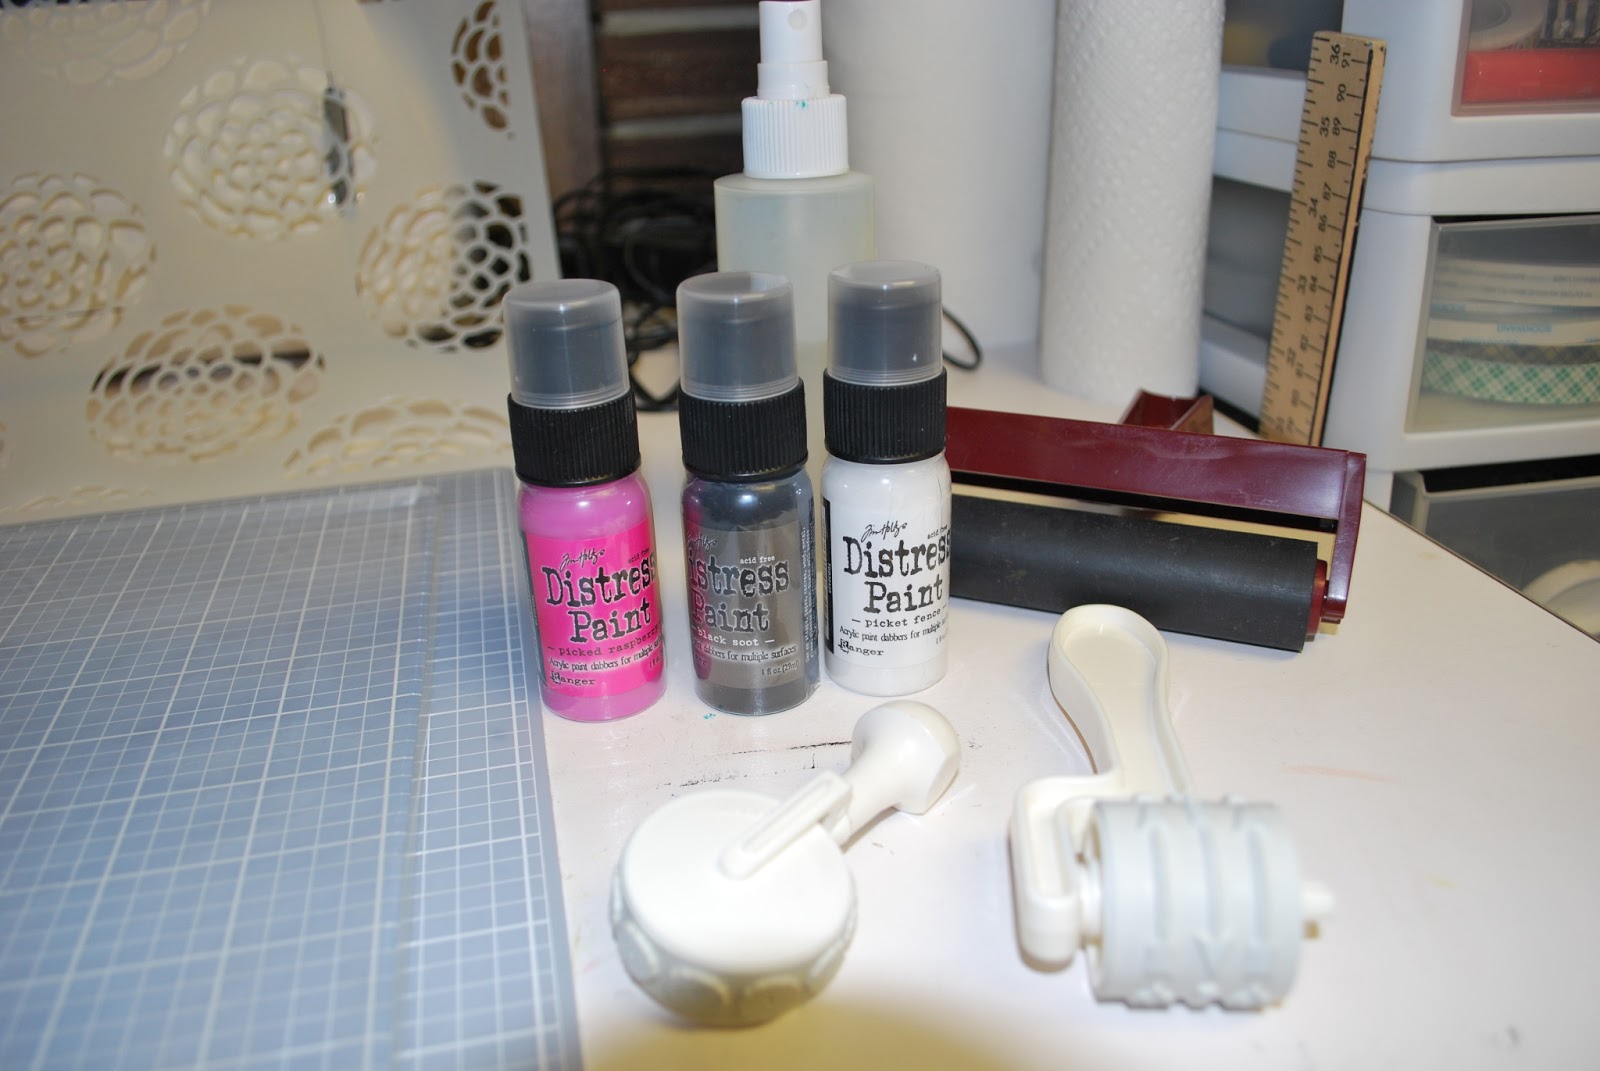
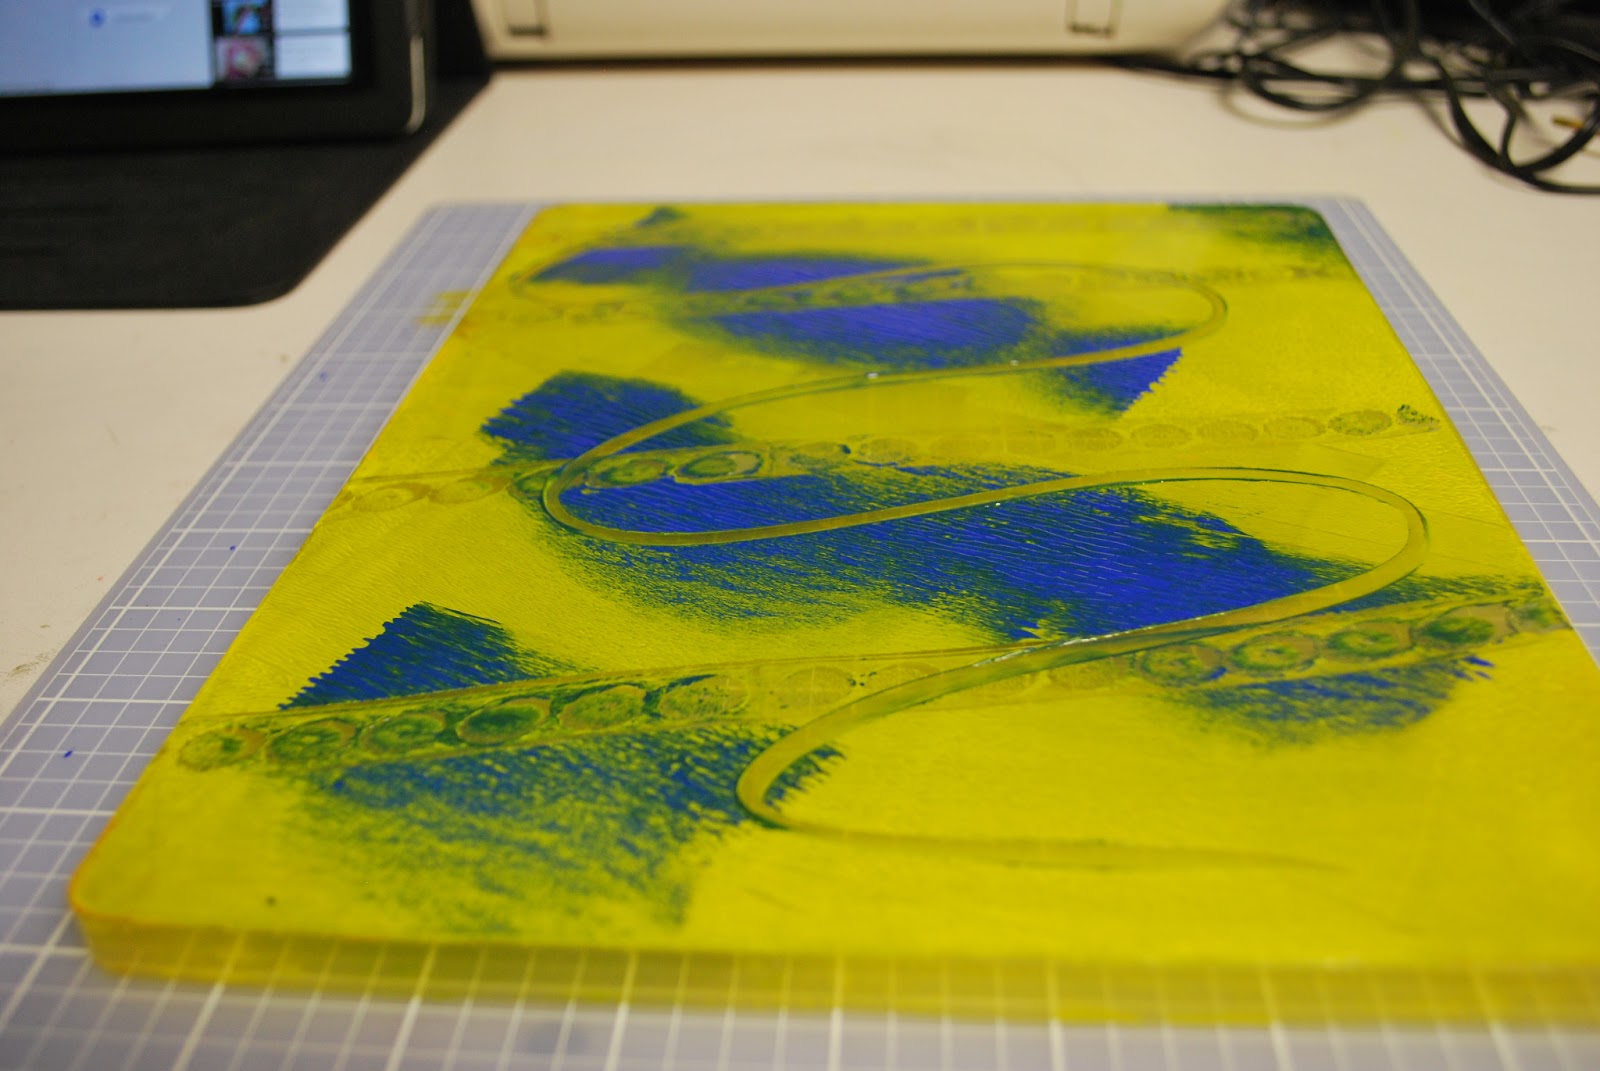
For this first print I used the new Tim Holtz distress paints, a brayer, a 12x12 stencil (this one is from TCW called- scallop flowers), and some white cardstock.


The I lay the stencil over it

And pressed my cardstock on top


Here I followed the same process, but used some acrylic paint and roller stamps.


Here are some ATC's I made using one of my prints


And here is the ALMOST finished page in my art journal from print #2


As far as what you need to make the patterns you can use stencils- big and small, stamps- all kinds, found objects- like the lid from your distress paints ;) and even just the tip of a paint brush or your finger.
To clean it (although after your #3 print is pulled there isn't much paint left on the plate) you can wipe it down with baby wipes, spritz with water and wipe it off with a paper towel, or give it the full day-spa treatment with a warm soapy bath in your sink. Or you can just leave it as is, as the left over paint is usually on the edges and wont mess up future prints. Being a little OCD I always clean mine up when I'm done.
If you have any questions about Gelli plate printing you can leave me a comment and I will try to answer it for you. I am really glad that I got one, I can see it as being one of the things I use constantly in my crafting. I hope you all have had a great start to you summer!!!
Paper Pals has Gelli Plates to purchase as well as several types of paint, stamps and an amazing selection of stencils.

1 comment:
WOW! what a great post. I can't wait to use my gelli plate. AND...can't wait to trade one of your cute ATC's at the next ATC meeting.
Post a Comment