June 22, 2013

Project Life Is Here

I was eager to work with this month's "Scrap Your Life" Kit because it included lots of samples of the Midnight Edition of the new Project Life Core Kits that recently arrived at Paper Pals. If you love the elegant nature of blacks, golds and greys, stop by the store to pick up this great kit and explore the Project Life system for yourself.

 First I planned my picture placement and tucked them in the pockets, then I chose journaling cards and made quick notes to fill in the rest of the pockets. I used an old alphabet set to stamp June on a 4x6 card.

 I wanted to keep more simplicity with this sleeve because there were a lot of pockets to fill and I didn't want to overload the eye with pictures. I cut down three 4x6 photos to fill the smaller pockets on the right and I used a couple different sizes of heart punches and red cardstock to tie in the hearts on the journaling cards.
 
 
 This sleeve contained a 6x8 pocket and I loved it! It enabled me to highlight a photo and then tell a story with the surrounding photos and journaling. This was a  perfect way to include a more in-depth look at my daughter's birthday celebration within my Project Life album. I kept the heart theme going to connect this time period and also because hearts are cool and I was feeling a lot of love!


  I love how fast and easy and beautifully these four pages came together, and this is one of the reasons I love the Project Life system. If I want to tell a more detailed story, I'll often make a layout and include it in my album, but for documenting snippets of our everyday lives so I don't forget them, this is the way to go. I simply printed some recent pictures, sat down with the kit and in less than two hours I documented two weeks. Done, done and done!

And then I made a couple of five minute any-occasion cards with some leftovers, just right for a quick note to a friend.
Pin It!

June 21, 2013

"Bundle of Joy" boy collection from Echo Park

Echo Park's new "Bundle of Joy" series comes in either a BOY or GIRL collection.  The double-sided printed cardstock is adorable...so many fun and whimsical prints and patterns, perfect for scrapbooking and card making!  Included in the collection is a set of cardstock stickers that coordinate with the papers, and a 12 X 12 sheet of journaling cards.


For this page, I used a We R Memory Keepers 12 X 12 divided photo sleeve---a quick and easy way to scrapbook!


For the cards I used the cardstock stickers, the printed papers, Bazzill cardstock, and the sheet of journaling cards.
 
I found a cute idea on Pinterest using the "Bundle of Joy" from Echo Park...
Pin It!

June 18, 2013


I love 4th of July Paper!  I love red, white and blue combinations and patriotic themes! " All American" by Bella blvd. is soooo AWESOME!  I love their board stickers and their little sticker sheets and the patterned paper that is double sided and versatile.  I had a lot of fun doing two similar lay-outs with a little different background and photo.  The top one I put on a piece of cardboard and that was fun.  I scaplifted an idea of layering red on red, so to add subtle layers without over-embelishing. I also love the star Brads that Karen has at the store, they add a little extra and can be used so many different ways.  Once again, tons of fun!
Pin It!

June 16, 2013

Gelli Madness

When I first began seeing comments, pictures and youtube videos about Gelli Plates, I was pretty sure I didn't need one. But then I watched a few more youtube vidoes and began thinking, hmmmmmm it does look fun.......  Part of my hold back was wondering what to do with all those papers when I was done, but the more I thought about it, the more I loved the idea. Just think, I could design paper with colors and designs specific to ANY project I was working on. No more looking for specific papers that don't exist or had never been made, I can make my own!!
Ok so that was the deciding factor to me getting a gelli plate, and I have to say, it is fun, I do love it, and I have already used it to make prints for a few specific projects!!

 For those of you who didn't run out and get a gelli plate to play with after seeing this awesome post on them by Kristy, I thought I would give you a quick run down on a few of the ways you can use the gelli plate to make prints. And show you how to use them in different aspects of your crafting  :)

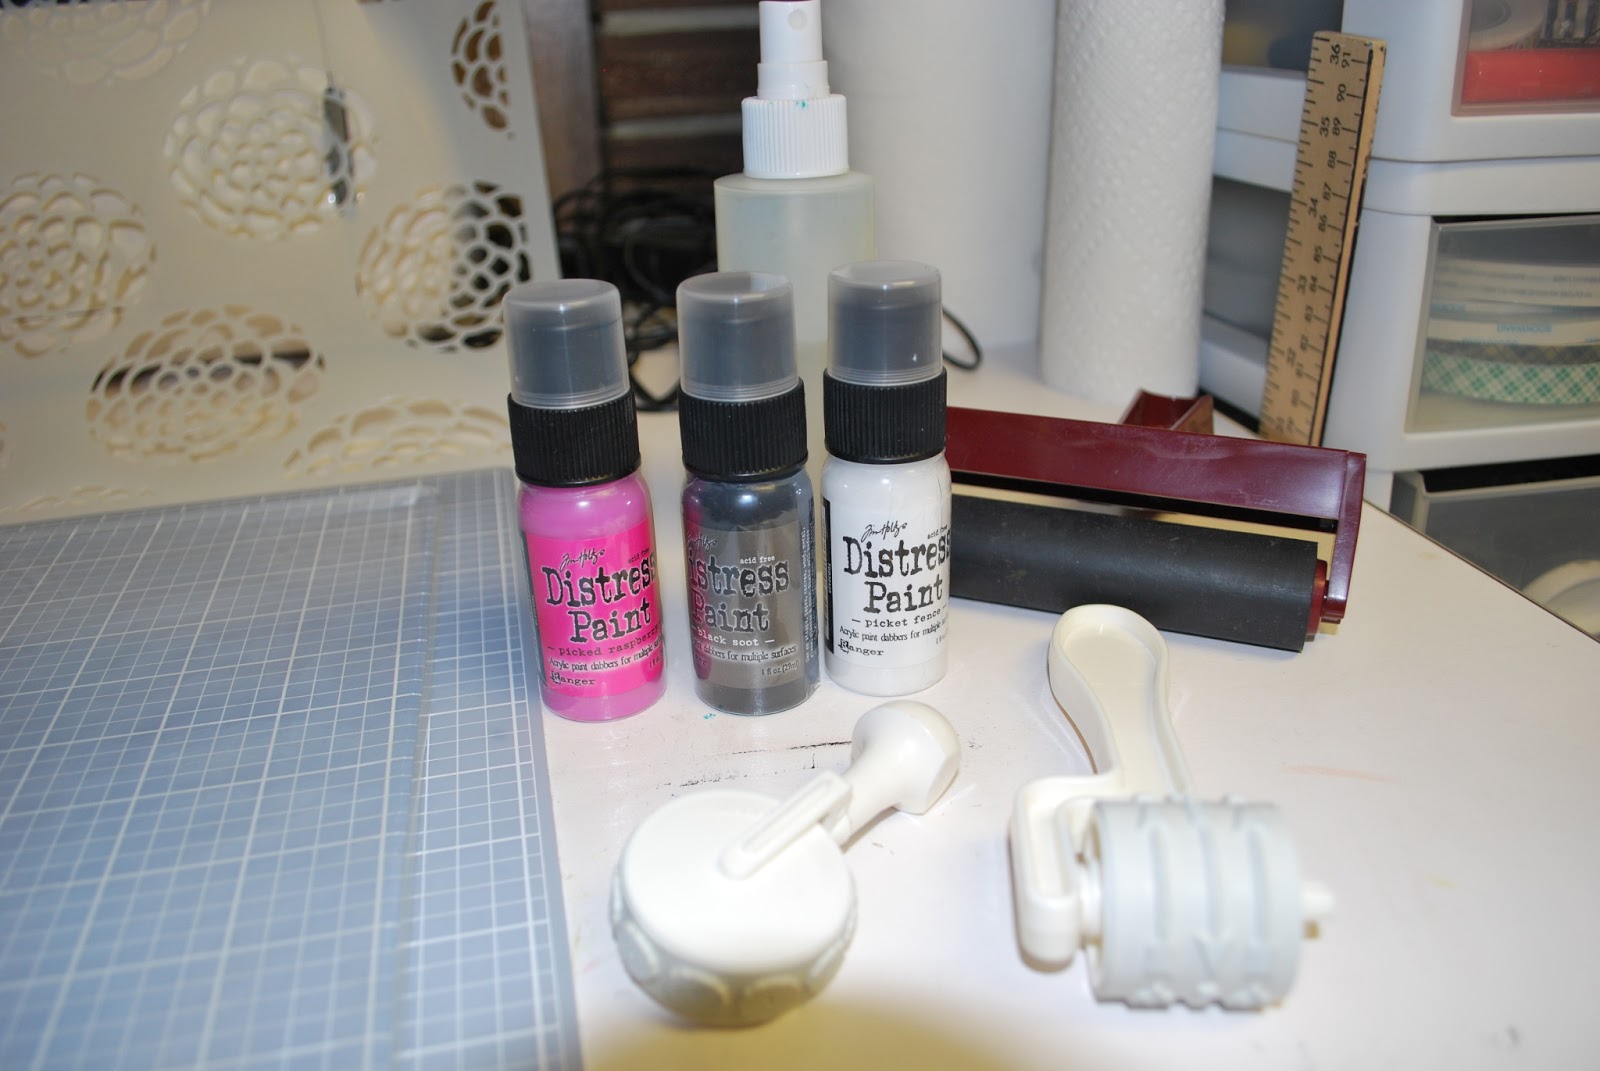
                For this first print I used the new Tim Holtz distress paints, a brayer, a 12x12 stencil (this one is from TCW called- scallop flowers), and some white cardstock.


     First I dribbled some paint onto my Gelli plate and used my brayer to smooth it out.


 The I lay the stencil over it

 And pressed my cardstock on top

 Here is my first print- which I used to make a scrapbook page, you can check that out down at Paper Pals.
 Then I took the stencil, which was cover in paint, and pressed it into my art journal, print #2 for me :)

 The I took another piece of cardstock and pressed it onto the Gelli plate, giving me print #3. Which was used to make 2 cards, one of which you can see at Paper Pals, the other I mailed off to someone as a Thank you note.

   Here I followed the same process, but used some acrylic paint and roller stamps.


   Look at it!!!!  So awesome and squishy!!!  My kids love to poke at it, see it even serves as summer entertainment for the children, win-win I tell you :)  Seriously though I have let me kiddos make some prints with it and they had a blast.

 Here are some ATC's I made using one of my prints


 And here is the ALMOST finished page in my art journal from print #2 


      I have experimented using several of different paints on this, and have found that they all work great. I have used liquid acrylics, reg. acrylics, Tim Holtz distress  paint, Lumiere paints and even gel medium to get a cool resist on my pattern paper.
       As far as what you need to make the patterns you can use stencils- big and small, stamps- all kinds, found objects- like the lid from your distress paints ;) and even just the tip of a paint brush or your finger.
    To clean it (although after your #3 print is pulled there isn't much paint left on the plate) you can wipe it down with baby wipes, spritz with water and wipe it off with a paper towel, or give it the full day-spa treatment with a warm soapy bath in your sink. Or you can just leave it as is, as the left over paint is usually on the edges and wont mess up future prints. Being a little OCD I always clean mine up when I'm  done.
      If you have any questions about Gelli plate printing you can leave me a comment and I will try to answer it for you. I am really glad that I got one, I can see it as being one of the things I use constantly in my crafting. I hope you all have had a great start to you summer!!!

              Paper  Pals has Gelli Plates to purchase as well as several types of paint, stamps and an amazing selection of stencils.
Pin It!

June 13, 2013

“Knowing Yourself” Altered Book Page

It’s official, the first page in my altered book is complete! And, in my opinion, it rocks. See for yourself:

knowing yourself finished page 061313

For those of you who follow my Art Challenge posts, you may recognize the cute little owl from Week 22. I still want to use him on a canvas, and now I have a good pattern for cutting him out. I just haven’t gotten to it yet. I’ve been having too much fun working in my art journals!

If you would like to make a page similar to this one, you can find all of the supplies you need at Paper Pals. Here’s a photo and list of what I used:

knowing yourself 05 supplies
     Paper:  one piece each of Bazzil Basics cardstock in Blue Oasis, Ivy (the wings), and Parakeet (the leaves); brown paper bag, orange patterned
     Inks:  Archival (Jet Black, Coffee),Tim Holtz Distress Ink (Frayed Burlap, Rusty Hinge, Walnut Stain) and inking tool
     Stamps:  Dylusions Around the Edge, Stampers Anonymous Worn Text, Dylusions Dy's Alphabet, Hero Arts Clear Typewriter Letters, and a swirl border set (I don’t have the package anymore so I’m not sure what the name is) and clear blocks to put the stamps on
     Additional supplies:  gesso, paintbrush, scissors, adhesive (I used wet glue, but dry adhesive would work just as well), water spritzer, heat tool (for quicker drying), Pigma Micron Pen (.05 black), and dimensional foam adhesive. And of course your book to alter!

Here’s what to do:
1. Gesso the page. I just opened the book at random and got to work. You can start on the first page if you’d like, or the last, or your favorite number if it wasn’t torn out during the preparation process.

2. Create the background using Rusty Hinge Distress Ink and some water. Spray the page with water first, then apply the ink directly with the ink pad, swirling it around. These inks were specially designed to activate with water and it’s really interesting to watch. Once you get some good color down, you can take a paintbrush and spread it around, then dry it with the heat tool. Mine wasn’t quite dark enough so I spritzed it again and added a second coat. When that was dry I dipped my clean brush in some water and lightly tapped it against my finger, causing drops to spatter randomly. It creates this fun texture:

knowing yourself 01 gesso the page  knowing yourself 03 background wash  knowing yourself 04 background wash up close

The photo on the left shows the whole page covered with gesso. You’ll notice the book text is still visible. The middle photo shows the whole page after I painted the background, and on the right is a close up of the water splatters. If you look again at the finished page you can see it poking thru in a few spots.

3. Take a strip of brown paper bag slightly longer than the width of your page and crumple it up. Stretch it back out but don’t smooth it flat; you’ll want it bunched up to make the branch stick out. Once this is accomplished, take your inking tool and Walnut Stain Distress Ink, and run it all over the top of the “branch”. It will darken it on the raised areas creating a shadow effect and fun texture. This part is optional but I think it really adds to the overall design. Let it dry (it shouldn’t take long) and then adhere it to the page. If you’d like, add a few smaller branches coming off of the main one with the same process and smaller strips of paper bag.

4. Using the four leaves stamp from Dylusions Around the Edge and black ink, stamp the bottom two leaves onto the Parakeet paper as many times as you’d like (I did three because it’s a good design principle number, but gives me six total which is an even number!), then cut around each individual leaf. I grouped them in pairs; for the bottom two sets I adhered one directly to the page and used dimensional foam squares for the other. The top set are both direct to page.

5. Using a circle punch, a lid you have laying around, or just freehand, draw your owl body on Oasis blue. I gave him a flattop for his head. Cut two wings and two ears on the Ivy green and attach to the top of the body. I drew stitch lines using Micron pen around all three pieces first; this can be done after you adhere them or not at all. Cut two circles (I used a 1” punch) for the eyes; draw on eyeballs if you’d like and stitch around the circles. I also drew a small nose on him in the shape of a diamond. Another fun option for his eyes would be adding a small button on top of the circles, or just using buttons and no paper. I adhered him to the page with four dimensional squares so he’d stand out. The options for placement are really up to you; also, you may want to add some feet, I chose not to.

6. Using a border stamp of your choice (swirls are just one of several available options) and Rusty Hinge Distress Ink, create some fun borders to frame your owl. Using brown Archival Ink and the Worn Text alphabet stamps, stamp “Knowing yourself” on the top of the page. With the same ink and Dy’s Alphabet stamps, stamp “wisdom” in the bottom right corner. Using the Hero Arts Typewriter Letters stamps add “is the beginning of” to the left of “wisdom.”

7. As a final touch to help the words stand out, I outlined “Knowing yourself” and “wisdom” with the Micron pen, and added faux stitching to “Knowing yourself.” I also shadowed “is the beginning of”. You can add more stamps to the background if you want more texture, or doodle. It’s all up to you, have fun with it! If you decide to make a similar page in your alter book, art journal, or anywhere else, post a photo in the comments section, I’d love to see it!
Pin It!

Design Team Comment Winner!!

Congrats to Therese Harris!  


Random Drawing Winner for Posting a Comment on our Design Team Blog

Stop in and pick up your prize pack full of Bo Bunny Trail Mix and Adorn It Forever Family products!


Thanks to everyone for commenting - keep an eye out for random drawings form prizes and give-a-ways!


Pin It!

June 11, 2013

Leave a Comment Drawing!

Design Team Comment Drawing
Get a FREE Goodie Bag!!


  Leave a comment on one of our AMAZING Design Team posts below and win a prize pack from Paper Pals  filled with NEW Bo Bunny Trail Mix and Adornit! Forever Family!
Drawing the winner's name from comments
made 6/6 - 6/12
Pin It!

June 10, 2013

Doodlebug Design - Flower Box Collection


The Doodlebug Design - Flower Box Collection has been in at Paper Pals but you haven't seen it here on the Design Team blog, until now!  As a long time fan of Doodlebug Designs, I must confess.  At first glance this paper seemed so pretty and cute that I instantly thought of using photos of my daughter and her friends.  Then, I decided to challenge the status quo and moved in two very different directions and used some new, as well as my tried and true, techniques to pull these together in no time. 

If you are a "Project Life" style of scrapbooker, you should head in a check out this line.  Between the coordinating accessories and journaling cards, you can pull together a layout in literally minutes.  While I've used this type of page before, and love them, I decided to treat the page protector as another element upon which I could layer elements.  Many of the card stock stickers are actually adhered to the page protector, not the paper beneath it.  Click on the photo below and you'll see what I mean.  This allowed me opportunities to have all the elements feel truly integrated (rather than a 2 or maybe 3 dimensional paper slid into a protector). 


 As usual, Glossy Accents and glitter (which Melina so expertly informed us about in her post recently!), finished off the elements!
While layouts come easy to me, cards always give me pause.  I sit and stare at the embellishments sheet and my scattered thoughts soon take over.  


What about this?  No, that would be silly. 
What about that?  That is just awkward. 

Do you go through a process like this?  Please tell me you do. 

Then...the breakthrough comes and you get these!  Just make a commitment and go for it!

On the inside of the "today" card, I used a calendar sticker and the words "is your day". I think this card could be used for birthdays, showers, or even a wedding perhaps!


Last but not least, I took an adventurous spin on this very springy, pastel line and 
added bold, red Bazzill to accentuate the photos and my sister with my son! I like red and pale turquoise as a color combination, so I really love how this turned out!  I was inspired 
by a layout in a magazine showing patterned papers circle-punched and placed in layers in a similar manner as my layout below.  This was a fun way to use up some small pieces of paper I had left after the first layout and the cards as well as add dimension (note the 
circles are folded in half and adhered to the page with a twisted piece of binding tape over the crease). 

I don't fancy myself as a "cutsey" scrapbooker.  My pages have always been clean, simple, layered designs.  Even though this paper could be considered cute, as I've said in earlier posts, look beyond the obvious in your paper.  For more inspiration about using Doodlebug Designs, visit their website at http://www.doodlebug.ws/Default.aspx 

What else can this paper communicate in your layouts/cards/art journals?  What product line, technique, or project would be a new and interesting challenge for you?  I encourage you to explore the possibilities!


Enjoy!
Anita

Posted by Picasa
Pin It!

June 8, 2013

Building Layers with a Printing Plate

 I recently purchased a Gelli Arts Gel Printing Plate and I have had such fun experimenting with it. The results have been reminding me of those Rorschach Tests where you try to find meaning in an ink blot, or being in elementary school and smashing glue or paint between sheets of paper. The possibilities of creating amazing backgrounds with this plate are endless.

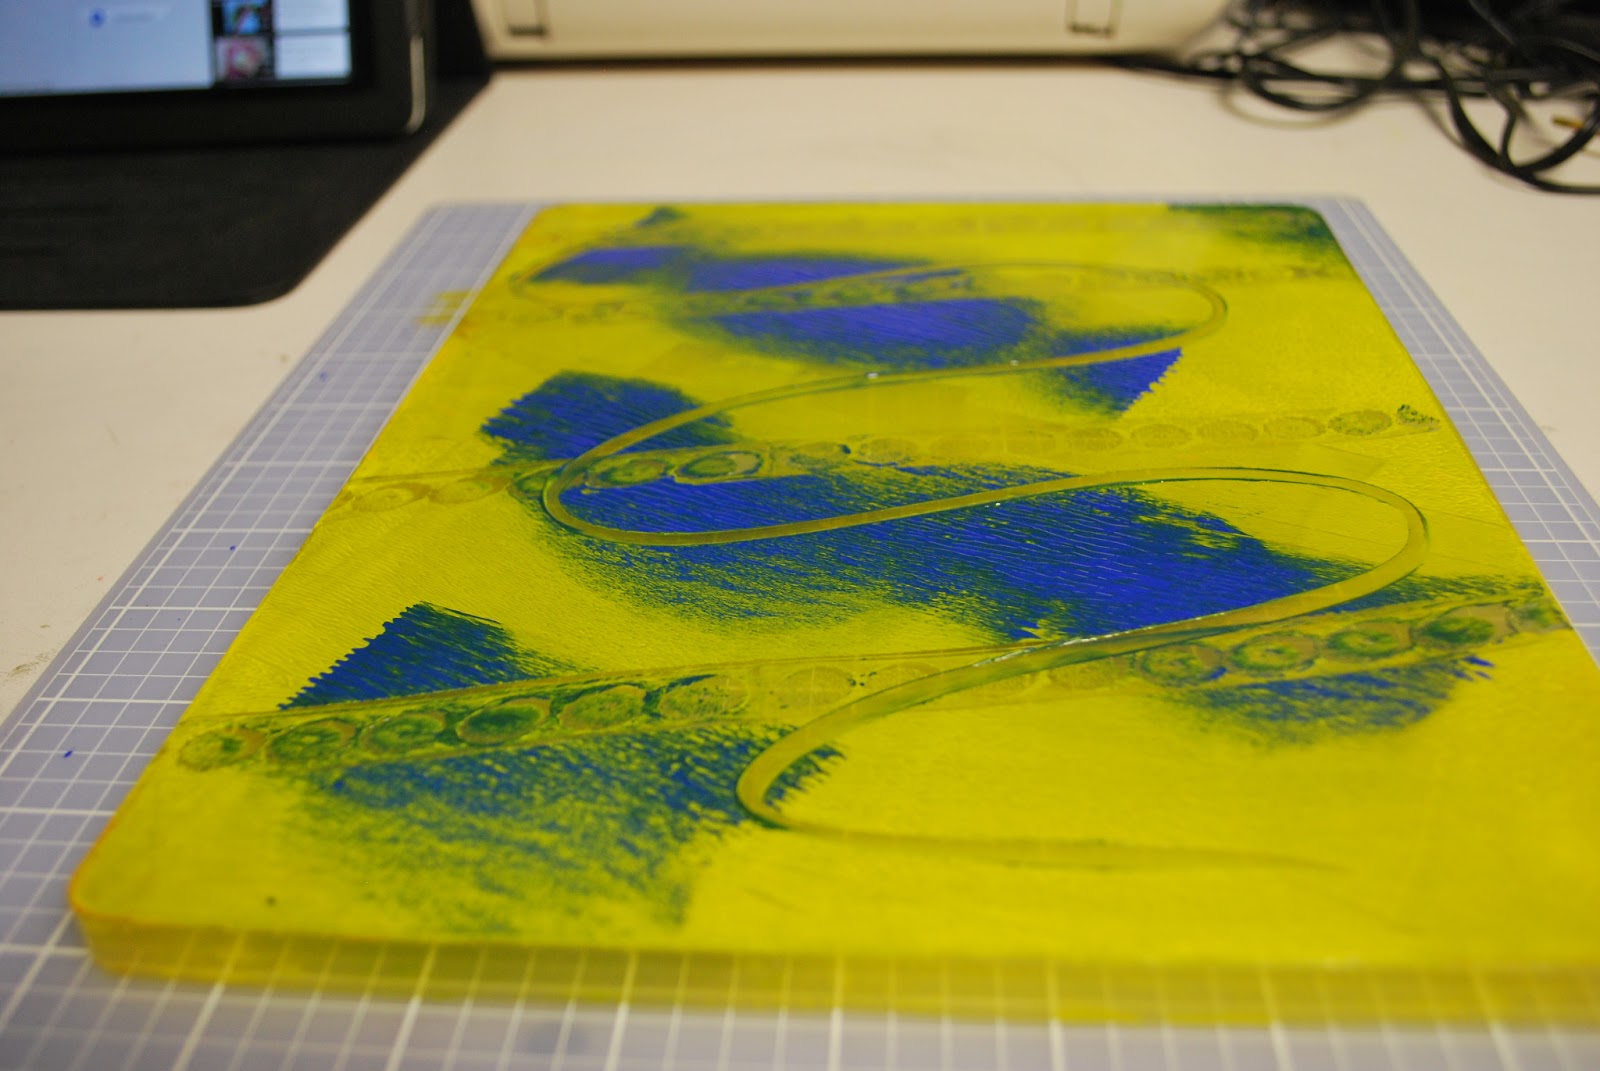
 For this demonstration, I decided to start with a page from an atlas instead of plain white paper. I brushed a thin layer of yellow acrylic paint on the printing plate and then used old lids to make circles. Then I placed the map face down on top of the printing plate, smoothed it out, and then peeled it off and let it dry.
 
 The result is on the left. It is beautiful all on its own; you can see bits of the map peeking out, but I couldn't stop there. I brushed Citrine Lumiere metallic acrylic paint onto the plate and rubbed it around with my paintbrush. Then I added swirls of Pearlescent Magenta Lumiere metallic acrylic paint all over on top of the Citrine. Again I placed the map face down on top of the printing plate, smoothed it out, and then peeled it off. This is what I got:

 I couldn't be more pleased with the results. I see a field of shimmery flowers of course, with the blue sky peeking through the green foliage, so I think I'll take a black pen and do some outlining to give it a little more definition. Then I'll trim it down and use it for a page in my art journal.

Here's a few more backgrounds I created by building layers upon layers of paint on top of magazine pages. I'm excited to try some backgrounds with gesso; I think a bright white background will really help the colors pop.
Pin It!