June 23, 2013

Six Sides of Creativity

The number six is one amazing number. Consider the mathematical combinations: its sum is the product of its factors (excluding itself) one times two times three. Moreover, one-sixth of it, the number one, plus one-third of it, the number two, equals one-half of it, the number three. If you draw six dots and pile them up, with one on top, two dots centered under that, and the final three under that, you get a triangle (which happens to be one of my least favorite shapes but doesn’t reflect negatively on the number).

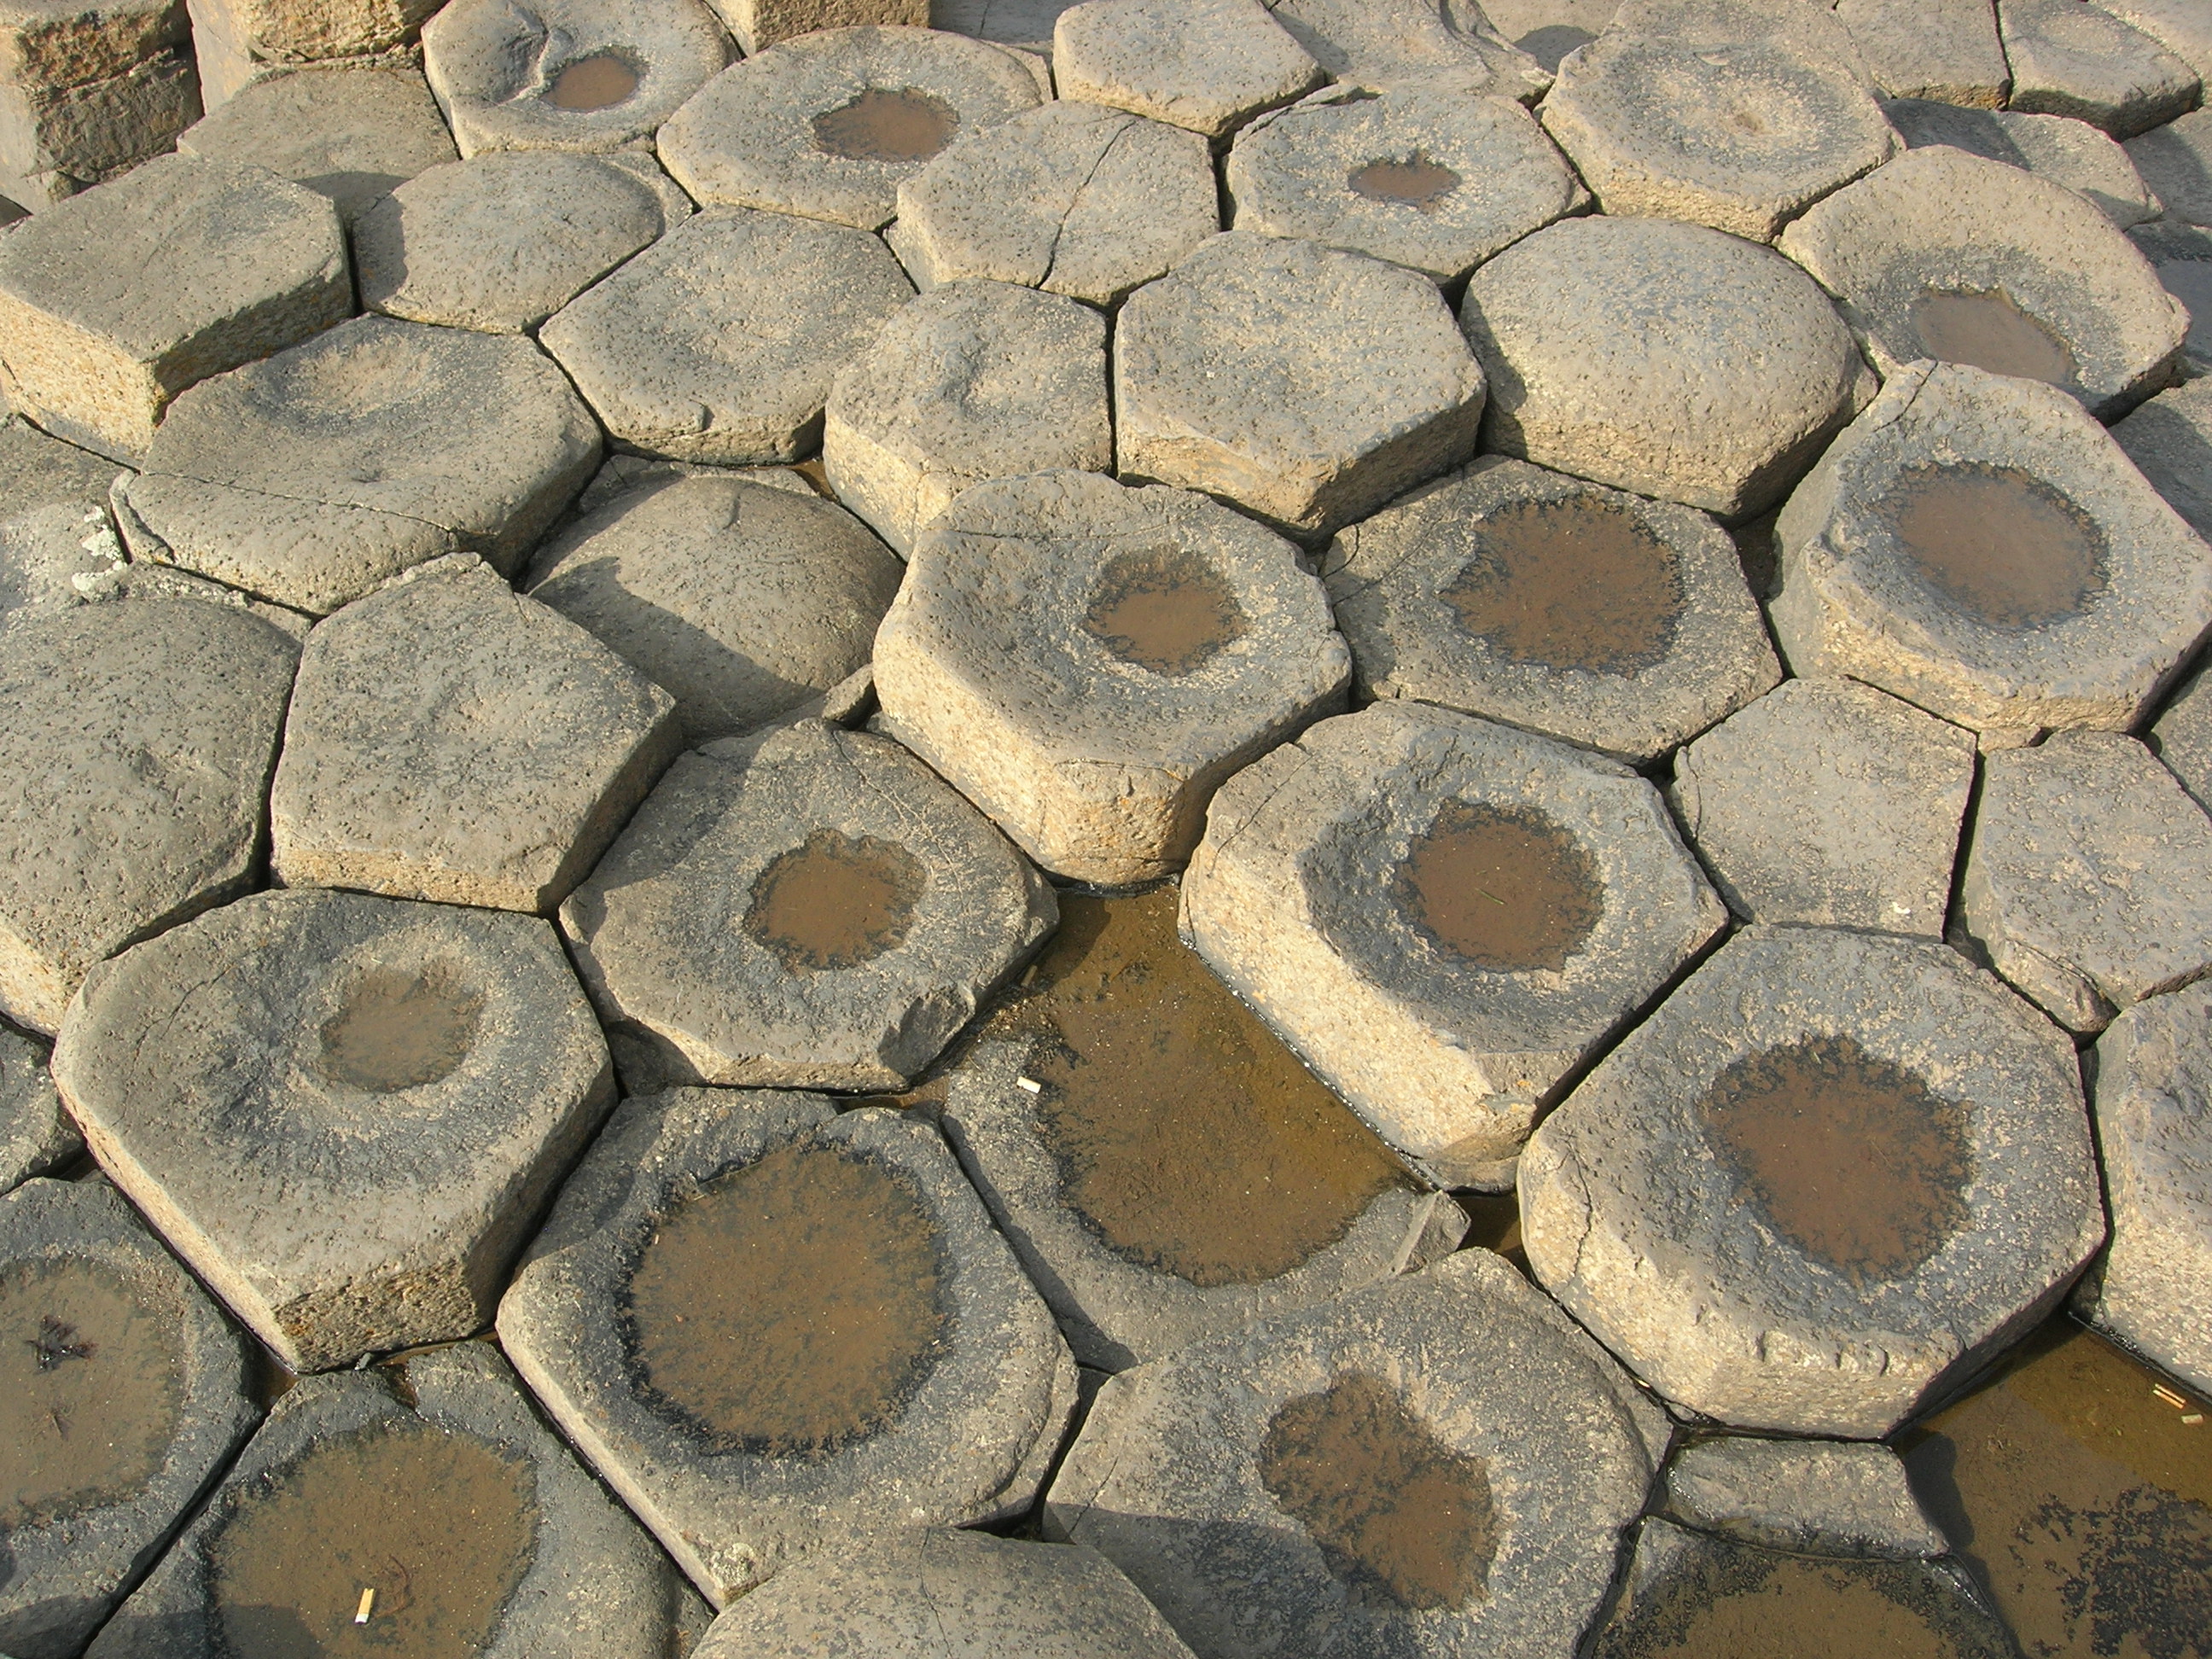
I prefer to see it as a far more fun and interesting shape – the hexagon. Unfortunately, there’s no fascinating history behind this shape, although it does appear in nature in various places, including the bee’s honeycomb and the Giant’s Causeway, a natural rock formation found on the coast of Northern Ireland:


In the ever-expanding art world, the hexagon has become quite popular. Paper Pals is, of course, no exception to this. On a recent field trip through the store I found over two dozen examples of product and samples of creations that contain hexagons, and I would like to share some of it with you.

DSCN3727DSCN3729DSCN3754DSCN3756DSCN3757

First we’ll start with stamps. As you can see, there are several options, and they offer some great options for different areas of paper crafting. On the far left is a great set for greeting cards and journal spots in scrapbook layouts, called Hero Arts Clear Hexagons. Next to it is another Hero Arts stamp, called Hexagon Background, that makes really fun backgrounds for cards, as well as mixed media projects like canvases and art journals. I think it would be fun to just stamp it and color all of the hexagons in with some of the Copic Sketch Markers (also conveniently available at Paper Pals). That would make a unique and colorful little wall hanging or greeting card front!

The two BoBunny stamp sets are Distressed Textures (left) and Geometric Patterns (right). Each has one hexagon stamp, along with several other fun options for backgrounds and borders. Another great feature of all of these sets is the size – the largest one is the Hexagon Background, which I believe is about 5” x 7”.

The set in the middle is called Mixed Media by Stampers Anonymous (Tim Holtz), which includes four options. The top one features the hexagon in a popular chicken wire pattern. These are another great choice for backgrounds in mixed media projects, such as these canvases for sale (handmade by Karen):

DSCN3730             DSCN3758

Actually, the one on the right uses a different hexagon pattern (inside the heart), probably a stencil with the chicken wire pattern being the positive, the hexagon the negative (meaning the hexagon is the missing part, the chicken wire the stencil material). There are other hexagon stencils available at Paper Pals as well:

DSCN3748  DSCN3749  DSCN3750  DSCN3752

Here you can see examples of some negative hexagons in various sizes. The one on the far left, The Crafter’s Workshop Honeycomb takes the shape to a whole other level with the smaller (yet still six-sided) shapes connecting the hexagons. I’ll be using it, along with some other fun products, for posts on my personal blog this week, Random Rambles. I’ve decided hexagons will be my “technique of the week”, so I have some fun projects planned to share with you (mostly in my art journal).

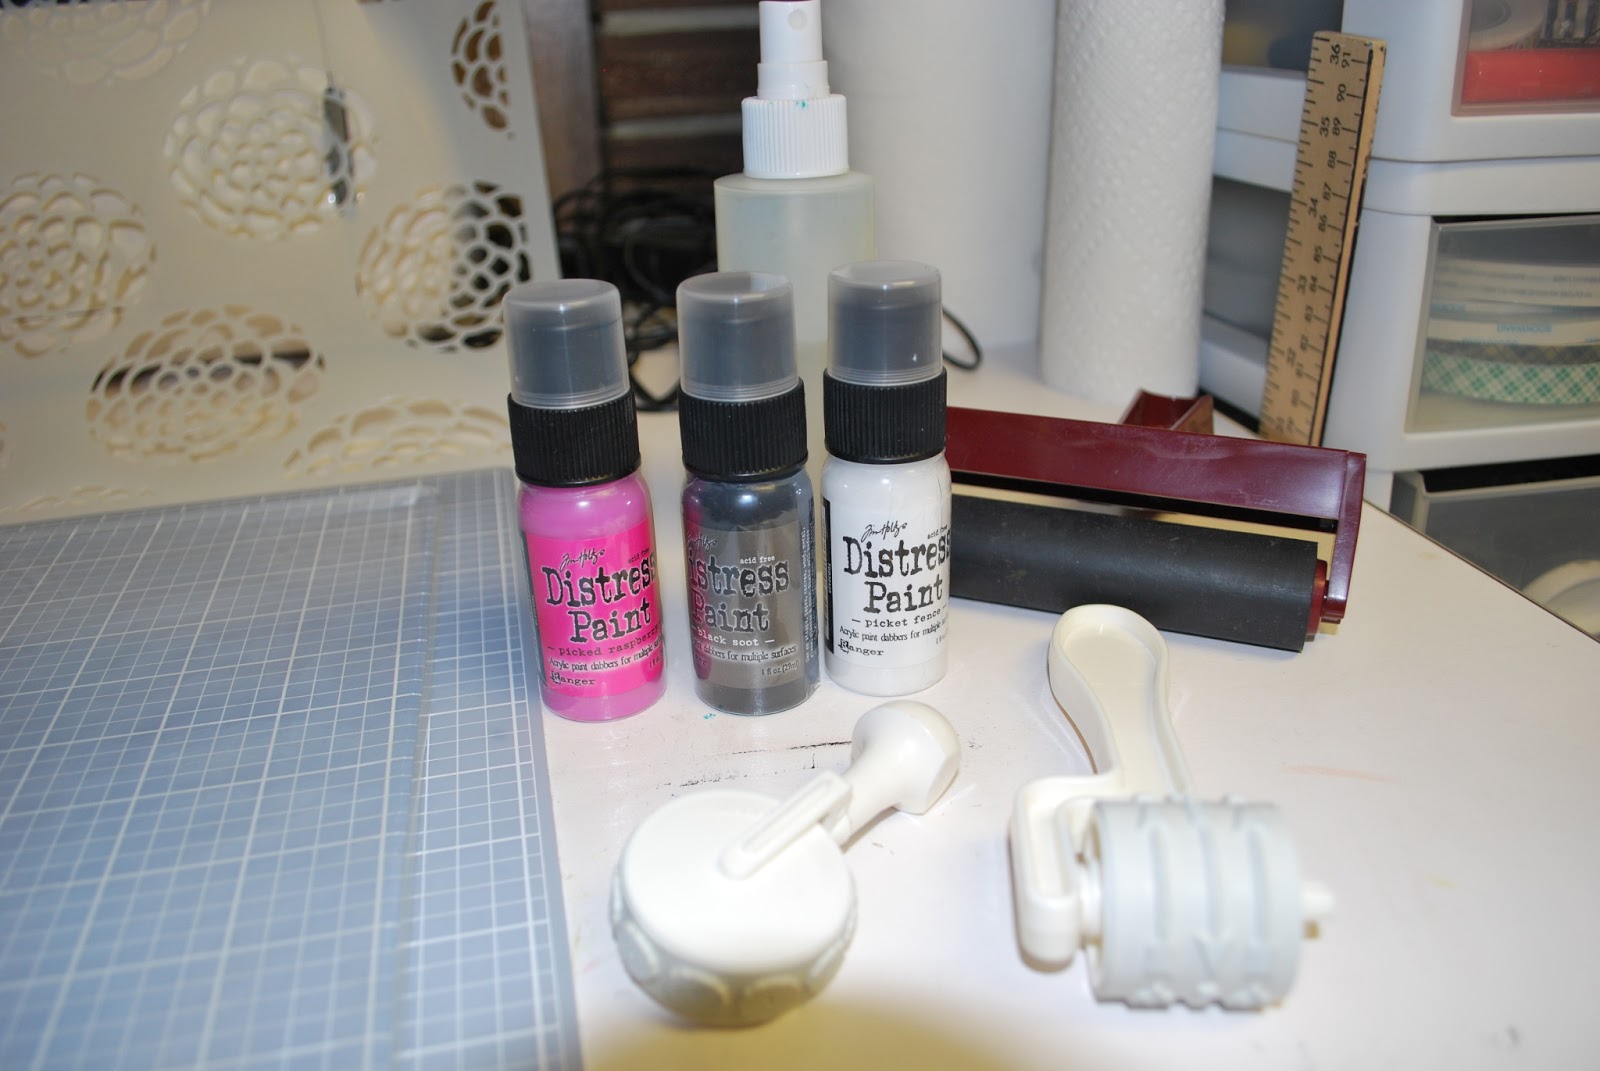
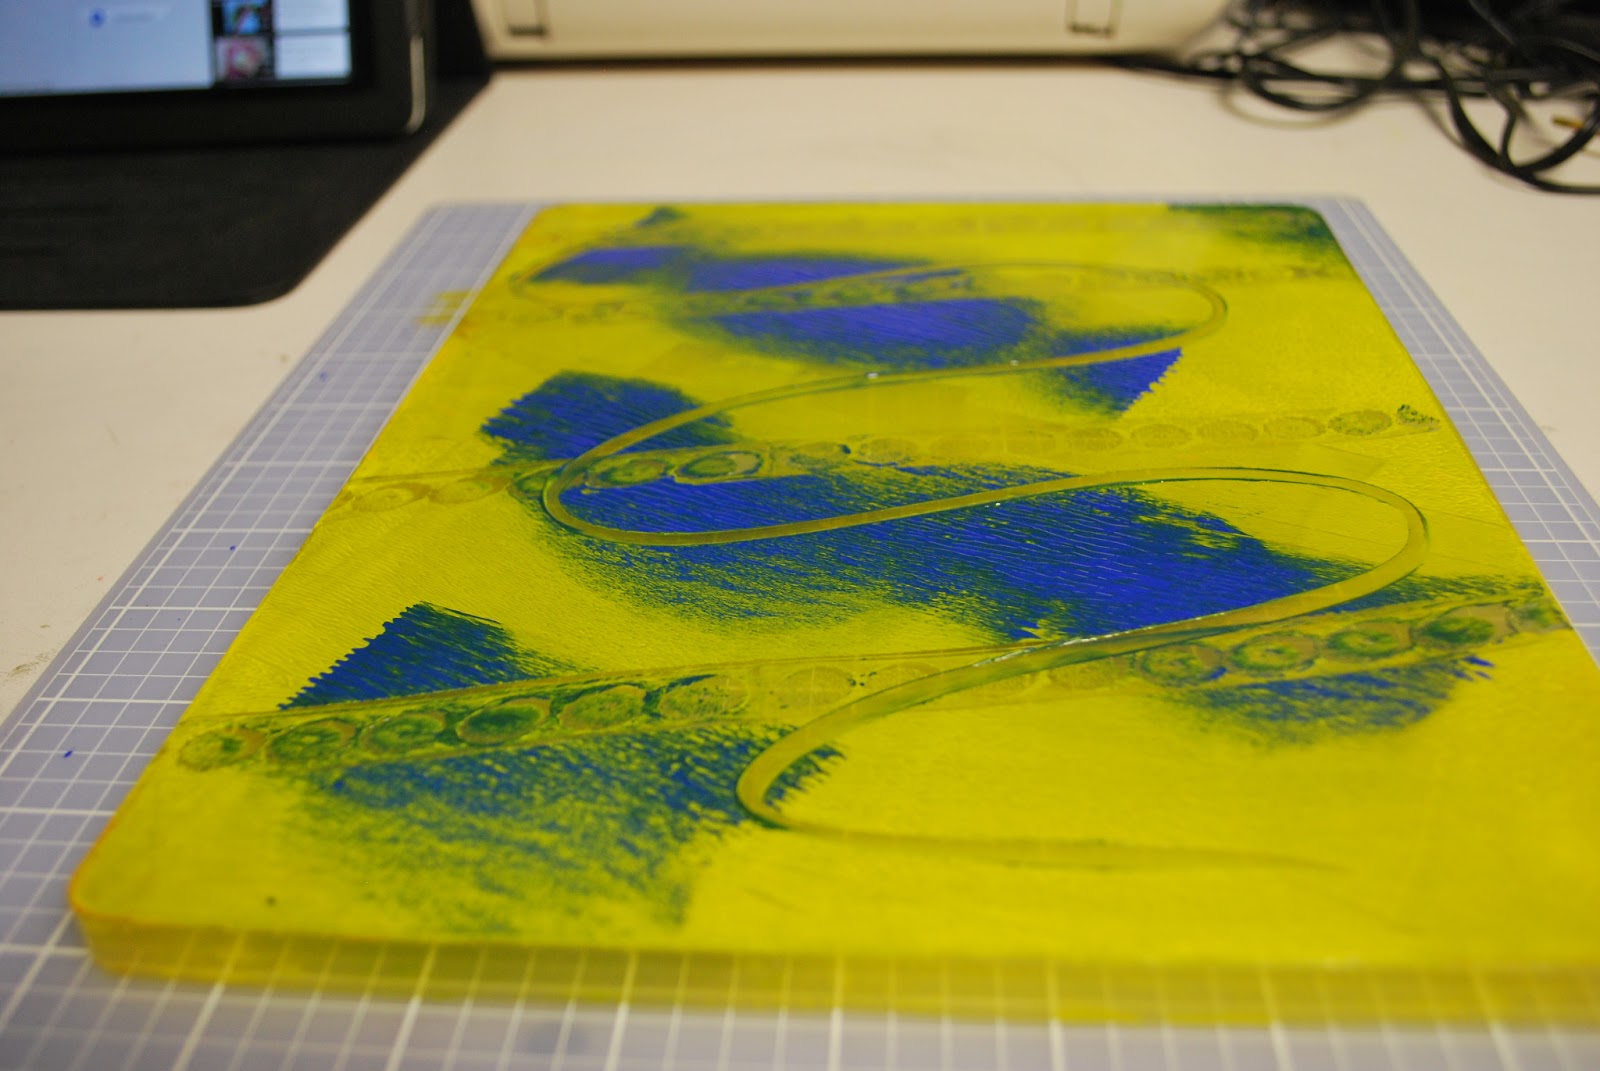
One more stencil available at Paper Pals, The Crafter’s Workshop Hexagons, I already used on an art journal page. Here’s the page and the stencil:

week 01 finished (040113)                    DSCN3751

As you can see, I only used the smallest of the five sizes for my background, but it would also be very interesting to do one with all of the sizes.

A few other products with the hexagon shape include (from left to right below):  stickers, washi tape, embossing folders, and die cuts. Below those are the various pieces of paper found all over the store (see a list of names at the end of this post). This versatile six-sided shape is obviously great for more than just decorating like honeybees!

DSCN3743DSCN3747DSCN3753DSCN3759DSCN3760

DSCN3731DSCN3732DSCN3733DSCN3735DSCN3736DSCN3737DSCN3739DSCN3740DSCN3741DSCN3745DSCN3761

Now it’s your turn friends! Head over to Paper Pals for some of this great paper, pick up a few stencils and stamps (and get your Passport punched!), and see what inspiration brings! Oh, and be sure to post your projects and experiments in the Comments section here, and send a copy to Karen to share on the Paper Pals blog and Facebook page. Happy crafting!

Paper (from top, left to right):  BoBunny Prairie Chic “Laundry”, Authentique Genuine “Friendship”, Crate Paper  The Pier “Heatwave”, Glitz Cashmere Dame “Honeycomb” (two pictures, both sides of paper), Authentique Carefree “Jovial”, Seasons “August Cut Apart”, My Mind’s Eye Boy Crazy “Mechanical” (two pictures, both sides of paper), Studio Calico Snippets Collection “Me Oh My”, and from the new Project Life Designer Paper “Honey” edition.

Pin It!

June 22, 2013

Project Life Is Here

I was eager to work with this month's "Scrap Your Life" Kit because it included lots of samples of the Midnight Edition of the new Project Life Core Kits that recently arrived at Paper Pals. If you love the elegant nature of blacks, golds and greys, stop by the store to pick up this great kit and explore the Project Life system for yourself.

 First I planned my picture placement and tucked them in the pockets, then I chose journaling cards and made quick notes to fill in the rest of the pockets. I used an old alphabet set to stamp June on a 4x6 card.

 I wanted to keep more simplicity with this sleeve because there were a lot of pockets to fill and I didn't want to overload the eye with pictures. I cut down three 4x6 photos to fill the smaller pockets on the right and I used a couple different sizes of heart punches and red cardstock to tie in the hearts on the journaling cards.
 
 
 This sleeve contained a 6x8 pocket and I loved it! It enabled me to highlight a photo and then tell a story with the surrounding photos and journaling. This was a  perfect way to include a more in-depth look at my daughter's birthday celebration within my Project Life album. I kept the heart theme going to connect this time period and also because hearts are cool and I was feeling a lot of love!


  I love how fast and easy and beautifully these four pages came together, and this is one of the reasons I love the Project Life system. If I want to tell a more detailed story, I'll often make a layout and include it in my album, but for documenting snippets of our everyday lives so I don't forget them, this is the way to go. I simply printed some recent pictures, sat down with the kit and in less than two hours I documented two weeks. Done, done and done!

And then I made a couple of five minute any-occasion cards with some leftovers, just right for a quick note to a friend.
Pin It!

June 21, 2013

"Bundle of Joy" boy collection from Echo Park

Echo Park's new "Bundle of Joy" series comes in either a BOY or GIRL collection.  The double-sided printed cardstock is adorable...so many fun and whimsical prints and patterns, perfect for scrapbooking and card making!  Included in the collection is a set of cardstock stickers that coordinate with the papers, and a 12 X 12 sheet of journaling cards.


For this page, I used a We R Memory Keepers 12 X 12 divided photo sleeve---a quick and easy way to scrapbook!


For the cards I used the cardstock stickers, the printed papers, Bazzill cardstock, and the sheet of journaling cards.
 
I found a cute idea on Pinterest using the "Bundle of Joy" from Echo Park...
Pin It!

June 18, 2013


I love 4th of July Paper!  I love red, white and blue combinations and patriotic themes! " All American" by Bella blvd. is soooo AWESOME!  I love their board stickers and their little sticker sheets and the patterned paper that is double sided and versatile.  I had a lot of fun doing two similar lay-outs with a little different background and photo.  The top one I put on a piece of cardboard and that was fun.  I scaplifted an idea of layering red on red, so to add subtle layers without over-embelishing. I also love the star Brads that Karen has at the store, they add a little extra and can be used so many different ways.  Once again, tons of fun!
Pin It!

June 16, 2013

Gelli Madness

When I first began seeing comments, pictures and youtube videos about Gelli Plates, I was pretty sure I didn't need one. But then I watched a few more youtube vidoes and began thinking, hmmmmmm it does look fun.......  Part of my hold back was wondering what to do with all those papers when I was done, but the more I thought about it, the more I loved the idea. Just think, I could design paper with colors and designs specific to ANY project I was working on. No more looking for specific papers that don't exist or had never been made, I can make my own!!
Ok so that was the deciding factor to me getting a gelli plate, and I have to say, it is fun, I do love it, and I have already used it to make prints for a few specific projects!!

 For those of you who didn't run out and get a gelli plate to play with after seeing this awesome post on them by Kristy, I thought I would give you a quick run down on a few of the ways you can use the gelli plate to make prints. And show you how to use them in different aspects of your crafting  :)

                For this first print I used the new Tim Holtz distress paints, a brayer, a 12x12 stencil (this one is from TCW called- scallop flowers), and some white cardstock.


     First I dribbled some paint onto my Gelli plate and used my brayer to smooth it out.


 The I lay the stencil over it

 And pressed my cardstock on top

 Here is my first print- which I used to make a scrapbook page, you can check that out down at Paper Pals.
 Then I took the stencil, which was cover in paint, and pressed it into my art journal, print #2 for me :)

 The I took another piece of cardstock and pressed it onto the Gelli plate, giving me print #3. Which was used to make 2 cards, one of which you can see at Paper Pals, the other I mailed off to someone as a Thank you note.

   Here I followed the same process, but used some acrylic paint and roller stamps.


   Look at it!!!!  So awesome and squishy!!!  My kids love to poke at it, see it even serves as summer entertainment for the children, win-win I tell you :)  Seriously though I have let me kiddos make some prints with it and they had a blast.

 Here are some ATC's I made using one of my prints


 And here is the ALMOST finished page in my art journal from print #2 


      I have experimented using several of different paints on this, and have found that they all work great. I have used liquid acrylics, reg. acrylics, Tim Holtz distress  paint, Lumiere paints and even gel medium to get a cool resist on my pattern paper.
       As far as what you need to make the patterns you can use stencils- big and small, stamps- all kinds, found objects- like the lid from your distress paints ;) and even just the tip of a paint brush or your finger.
    To clean it (although after your #3 print is pulled there isn't much paint left on the plate) you can wipe it down with baby wipes, spritz with water and wipe it off with a paper towel, or give it the full day-spa treatment with a warm soapy bath in your sink. Or you can just leave it as is, as the left over paint is usually on the edges and wont mess up future prints. Being a little OCD I always clean mine up when I'm  done.
      If you have any questions about Gelli plate printing you can leave me a comment and I will try to answer it for you. I am really glad that I got one, I can see it as being one of the things I use constantly in my crafting. I hope you all have had a great start to you summer!!!

              Paper  Pals has Gelli Plates to purchase as well as several types of paint, stamps and an amazing selection of stencils.
Pin It!

Blog Archive